In this tutorial, we’ll walk you through the process of setting up a Retrieval-Augmented Generation (RAG) system using LM Studio and Anything LLM.
Implementing a basic RAG with AnythingLLM is a straightforward process that doesn’t require coding skills or expert machine learning knowledge. AnythingLLM provides a user-friendly interface and streamlined workflow, allowing you to leverage the power of Retrieval Augmented Generation (RAG) in your local environment with minimal effort.
What is RAG (Retrieval Augmented Generation)?
Retrieval Augmented Generation (RAG) is a technique that enhances the capabilities of large language models (LLMs) by allowing them to retrieve and incorporate relevant information from external sources during the generation process. Traditional LLMs, while impressive in their language understanding and generation abilities, are limited by the knowledge contained within their training data. RAG addresses this limitation by providing a mechanism for LLMs to dynamically retrieve and integrate relevant information from external sources, such as documents (pdf, doc), websites, or databases.
The importance of RAG for LLMs cannot be overstated. By leveraging external knowledge sources, RAG enables LLMs to produce more accurate, informative, and up-to-date responses. This is particularly crucial in domains where factual information is essential, such as question-answering systems, information retrieval, and knowledge-intensive applications.
Without RAG, LLMs might generate responses based solely on their training data, which can quickly become outdated or lack specific details. RAG mitigates this issue by allowing LLMs to access and incorporate the latest information from external sources, ensuring that their responses are more accurate and relevant.
AnythingLLM
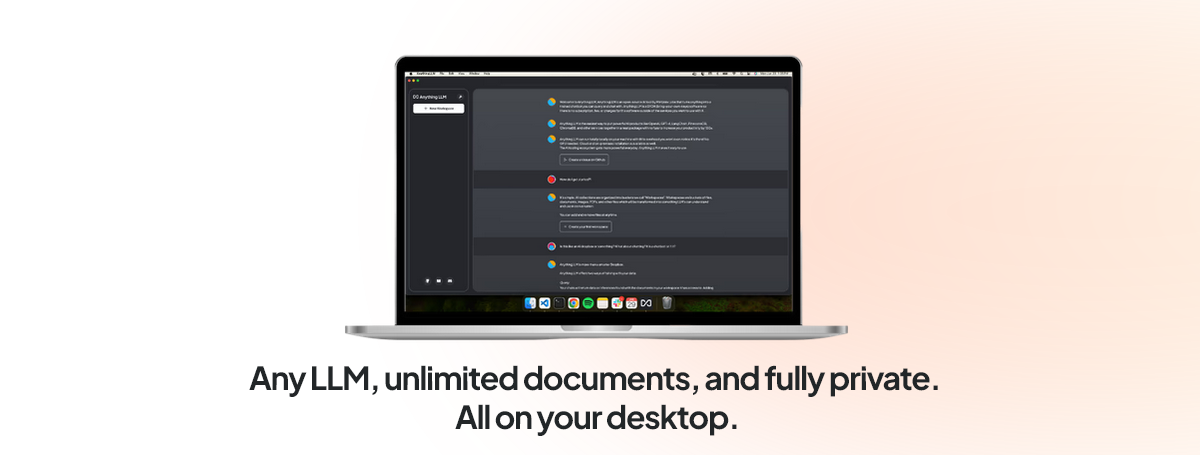
AnythingLLM is a full-stack application that allows you to run locally hosted large language models (LLMs) and enhance their capabilities with various features, including Retrieval Augmented Generation (RAG) and agent functionalities. It acts as a bridge between your LLM and external resources, enabling seamless integration and augmentation of the model’s responses.
Key features of AnythingLLM:
- Retrieval Augmented Generation (RAG): AnythingLLM enables RAG capabilities for your locally hosted LLMs, allowing them to retrieve and incorporate relevant information from external documents or sources during the generation process.
- Agent Capabilities: AnythingLLM introduces agent functionalities to your LLMs, empowering them to perform various tasks beyond just text generation, such as web scraping, summarization, chart generation, and file manipulation.
- Local Deployment: AnythingLLM runs entirely on your local machine or network, ensuring privacy and data security.
- Cross-Platform Support: It supports multiple operating systems, including Windows, macOS, and Linux.
- Open Source: AnythingLLM is an open-source project, allowing you to customize and extend its functionality as needed.
In the next section, we will guide you through the process of setting up the necessary environment, including installing LM Studio (or Ollama ), downloading and configuring LLM models, and installing AnythingLLM.
Hardware requirements
Before we start, make sure you have the following requirements:
Hardware:
- CPU: A modern multi-core processor
- RAM: At least 16GB (32GB or more recommended)
- Graphics Card: Preferably an NVIDIA GPU with at least 8GB VRAM for better performance. However, CPU-only setups are also supported with quantized models.
Setting up the Environment
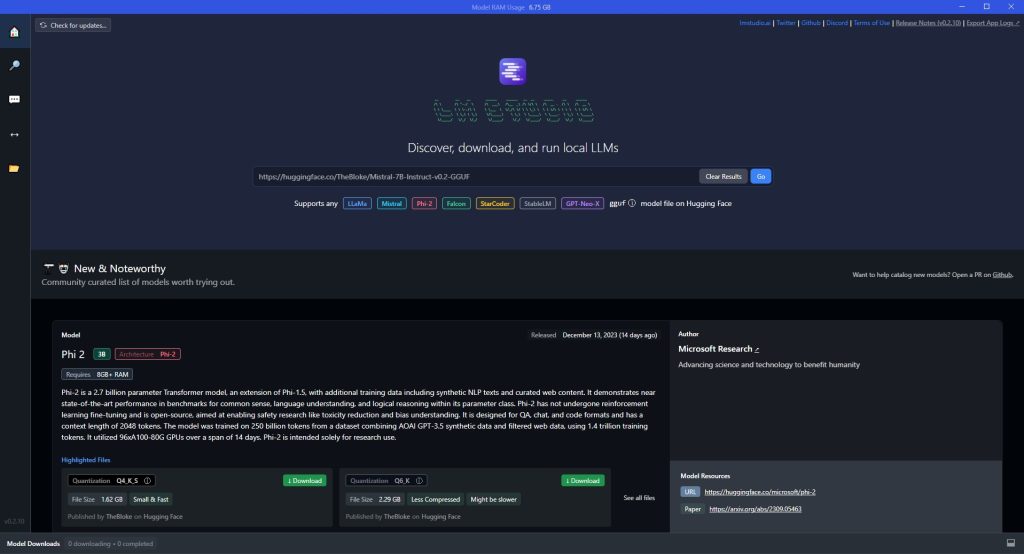
We have previously covered the installation process for LM Studio in a separate article. If you haven’t already set up LM Studio, please refer to that article for detailed instructions. LM Studio allows you to host and serve LLM models locally on your personal devices, ensuring privacy and data control.
Downloading and Configuring LLM Models
Once you have LM Studio installed, the next step is to download and configure the LLM model(s) you want to use. LM Studio supports various models, including LLaMa 3 and others.
- Open the LM Studio application and navigate to the “Models” section.
- Browse the available models and select the one you want to download. (we recommend the last Llama-3-8B-Instruct-GGUF as a good starting point and we’ve also had good results with Hermes-2-Pro-Mistral-7B-GGUF)
- Choose the appropriate quantization level for your model. Quantization is the process of compressing the model’s size to make it more efficient for local deployment. Higher quantization levels (e.g., Q8) provide better performance but require more VRAM + system RAM, while lower levels (e.g., Q4 or Q5) have smaller file sizes but may compromise quality.
- Head to the Local Server tab (on the left), load any LLM you downloaded by choosing it from the dropdown and start the server by clicking on the green Start Server button.
Installing AnythingLLM
Follow these steps to install AnythingLLM. Once AnythingLLM is installed, you’ll need to configure it to connect to your LM Studio instance and the LLM model you downloaded earlier. The initial setup process will guide you through these steps.
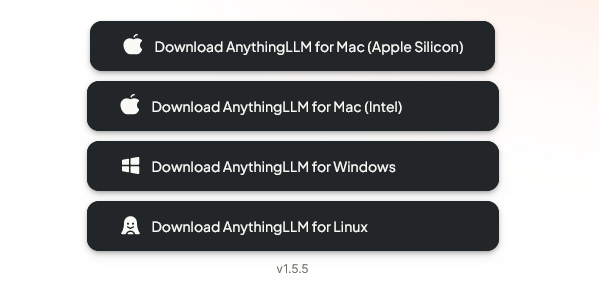
- Visit the AnythingLLM website and navigate to the “Download” section.
- Select the appropriate version for your operating system (Windows, macOS, or Linux) and download the installer.
- Run the installer and follow the on-screen instructions to complete the installation process.
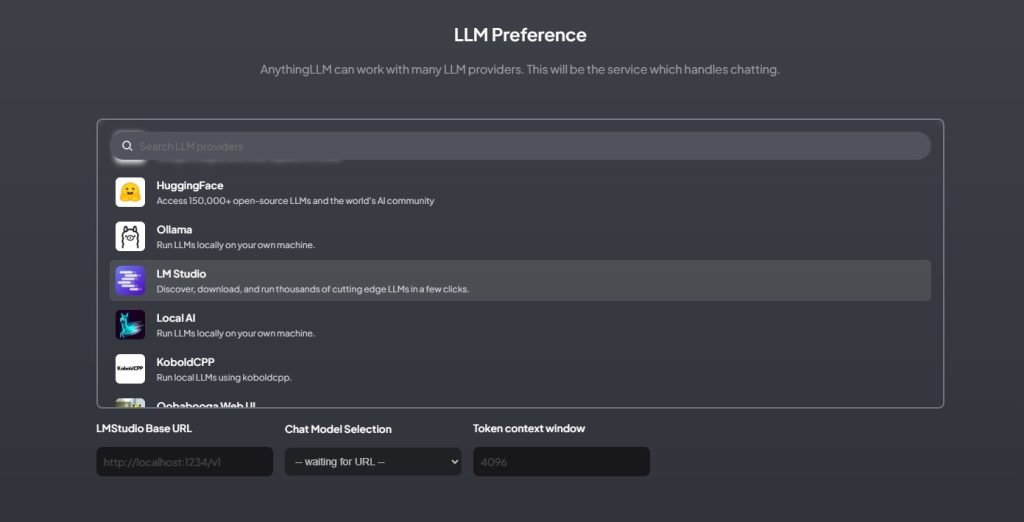
- When you are prompted to choose the service which handles chatting, choose LM Studio (screenshot below) and then provide the LMStudio Base URL (which should be the local server we’ve already started: http://localhost:1234/v1)
With the environment set up, you’re now ready to implement RAG using AnythingLLM and leverage the power of locally hosted LLMs enhanced with external knowledge retrieval capabilities.
In the next section, we’ll dive into the process of implementing RAG with AnythingLLM, covering document uploading, workspace creation, and sending queries with RAG.
Implementing RAG with AnythingLLM
Uploading Documents
The first step in implementing RAG with AnythingLLM is to upload the documents or sources that you want your LLM to retrieve information from. AnythingLLM supports various file formats, including PDF, TXT, and more.
- Launch the AnythingLLM application and navigate to the “Documents” section.
- Click the “Upload” button and select the files you want to add.
- Once the files are uploaded, select it and click “Move to Workspace” and finally “Save and Embed“. AnythingLLM will process them and create embeddings, which are vector representations of the text content. These embeddings are used for efficient retrieval during the RAG process.
Creating a Workspace
In AnythingLLM, workspaces act as containers for your documents and conversations with the LLM. To create a new workspace:
- Click on the “Workspaces” tab.
- Click the “Create Workspace” button.
- Provide a name for your new workspace.
- Select the documents you want to include in this workspace from the list of uploaded documents.
With AnythingLLM’s RAG implementation, you can leverage the language understanding and generation capabilities of your locally hosted LLM while enhancing its responses with relevant information from external sources, resulting in more accurate, informative, and up-to-date outputs.
By abstracting away the complexities, AnythingLLM empowers users without coding or machine learning expertise to leverage the power of RAG in their local environment. This not only enhances the capabilities of their locally hosted LLMs but also ensures data privacy and control, as the entire process runs on their personal devices or networks.
Update: Chat with Your Documents in LM Studio 0.3.0
Chat with Your Documents
LM Studio 0.3.0 introduces an exciting new feature that allows users to interact with their documents through chat. This functionality enables you to provide a set of documents to an LLM (Language Model) and ask questions about them directly. Here’s how it works:
Short Documents
For shorter documents that fit within the model’s context window, LM Studio will include the entire file contents in the conversation. This approach is particularly effective with models that support long contexts, such as Meta’s Llama 3.1 and Mistral Nemo.
Long Documents: Retrieval Augmented Generation (RAG)
When dealing with very long documents, LM Studio employs a technique called Retrieval Augmented Generation (RAG). This method attempts to extract relevant portions from lengthy documents (or multiple documents) and provide them to the model as reference material. While RAG can be highly effective, it may require some fine-tuning and experimentation to achieve optimal results.
Tip for Successful RAG
To improve the effectiveness of RAG, provide as much context in your query as possible. Include terms, ideas, and words you expect to find in the relevant source material. This approach often increases the likelihood that the system will supply useful context to the LLM. Remember, experimentation is key to finding the most effective method for your specific use case.
This new feature in LM Studio 0.3.0 opens up exciting possibilities for document analysis and information retrieval, making it easier than ever to interact with and extract insights from your documents using advanced language models.